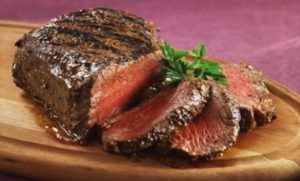
Blackberry Chipotle Tri-Tip

Beef Tri Tip – Have you tried it?

The tri-tip roast or steak is the 1 1/2 to 2 1/2 pounds of meat that sits at the bottom of the sirloin. Not only does it have a rich flavor, but also tends to be lower in fat than most other cuts. Of course, this means that it can dry out faster, but with a good marinade you really can’t go wrong with this cut.

The versatility of tri-tip is another factor that makes them great. Uncut, it is a fantastic roast that should be grilled indirectly for 30 to 40 minutes. You can also cut the tri-tip into 1-inch thick steaks, that grill up in about 8 minutes over a low to medium direct heat. As always, let your steak (or roast) sit for 5 to 10 minutes before you carve or serve it.

Blackberry Chipotle Tri-Tip Recipe

Ingredients:

  • 1 (2-2 1/2 pound) tri-tip roast, trimmed of excess fat
  • 2 teaspoons kosher salt
  • 1 teaspoon black pepper
  • 1/3 teaspoon cups blackberry preserves
  • 2 tablespoons balsamic vinegar
  • 1 canned chipotle pepper, minced
  • 1 tablespoon adobo from canned chipotle

Instructions:

  1. Season roast with salt and pepper. Preheat half of grill to medium high.
  2. Whisk together preserves, vinegar, chipotle and adobo to create a glaze. Set aside 1/4 cup of glaze for a finishing sauce.
  3. Sear roast 3-5 minutes per side; move to indirect heat and liberally apply glaze to both sides.
  4. Finish cooking roast over indirect heat (keeping grill around 350°F) for 35-45 minutes (or until 135°F internal temperature for medium doneness), basting with blackberry glaze once more during cooking.
  5. Rest 10 minutes on carving board before slicing thinly against the grain. Serve with remaining glaze.

Campfire Chicken

Check out this awesome campfire recipe.  Quick and Easy, and of course, delicious!

Campfire Chicken

Information

  • Prep Time:30 Minutes
  • Cook Time 2 Hours
  • Smoker Temp 235 Degrees
  • Meat Finish Temp 170 Degrees
  • Smoking wood: Pecan


What you’ll need

  • 4-6 Chicken quarters (Cooking good Leg quarters)
  • Meat Lodge Cajun Rub
  • Small red potatoes
  • Baby Carrots
  • 1-2 Large onions
  • 4-6 ears of Colony sweet corn
  • 1 package of Meat Lodge Ground Sausage
  • 18-inch Heavy foil

Remove the Skin from the Chicken Quarters

Just get a good hold on it at the larger thigh end and pull it toward the leg and it will come clean off. I skinned four of these in just a minute or so.

Parboil the Carrots and Potatoes

Unfortunately, everything in the foil gets done before the potatoes and carrots get soft so you have a few options:

  1. Serve the vegetables crunchy
  2. Overcook the chicken while the potatoes and carrots get done
  3. Pre-cook the potatoes and carrots a little bit

Option number 3 is your best bet in my opinion and it’s super easy and can be done while you are skinning the chicken, making up the rub, etc.

Simply fill a pot with your potatoes and carrots and cover them with water. Bring the water to a boil and let it boil for about 5 minutes for small carrots and potatoes.

Note: some folks boil the water first then add the carrots/potatoes but it is ok in this instance to start everything together.


Pour the potatoes and carrots into a colander and run cold water over them to stop the cooking process.

They are now ready to use in the foil with everything else and they’ve been given a sufficient head start.

Prepare the Foil Packages

Place the skinned chicken onto the center of a piece of foil that is about 18×18 inches square.

Pile some sausage pieces, potatoes, carrots, a quarter of an onion and a half ear of corn around the chicken.

Sprinkle some Meat Lodge Cajun rub onto the chicken, sausage and vegetables.

Add a tablespoon of butter on top..

Roll up the edges of the foil around the meat and vegetables to form a bowl shape.

Be sure to leave it open for now to allow the smoke in

Get that smoker ready

Set up your smoker for cooking at about 240°F although it would not be unheard of to take it on up to 275°F or so if you need to get them done faster. Chicken handles high heat quite well.

Be sure to have enough Lumber Jack Peacon wood pellets ($12.99) for about 1 – 2 hours of smoke

Smoke the Campfire Chicken

Place the foil “bowls” of chicken, sausage and vegetables into the smoker and let them smoke away for about 1- 2hours.

After one hour, pull the foil together at the top and pinch it closed.

I recommend placing a probe from a digital probe meat thermometer into one of the pieces of chicken before closing it up so you will know when it is done. Chicken is safe to eat at 165°F but I like to take these chicken quarters just a few degrees higher to make them a little more tender. I shoot for 170°F on these.


Serve It UP!!!

Have plates already setting on the table with a single paper towel on the plate (to protect the plate from grease from the smoker grates)

When the chicken is done, lay a foil packet on each plate and call Dinner!


Comments:

  1. This could also be done with pork chops, meatballs, pieces of ham, etc. instead of chicken
  2. For even more flavor, brine the chicken for about 2 hours in a solution of 1 gallon of water, 1 cup of kosher salt and ¾ cup of brown sugar.

What’s the Temp? Poultry Cooking Temperatures

poultry-grill

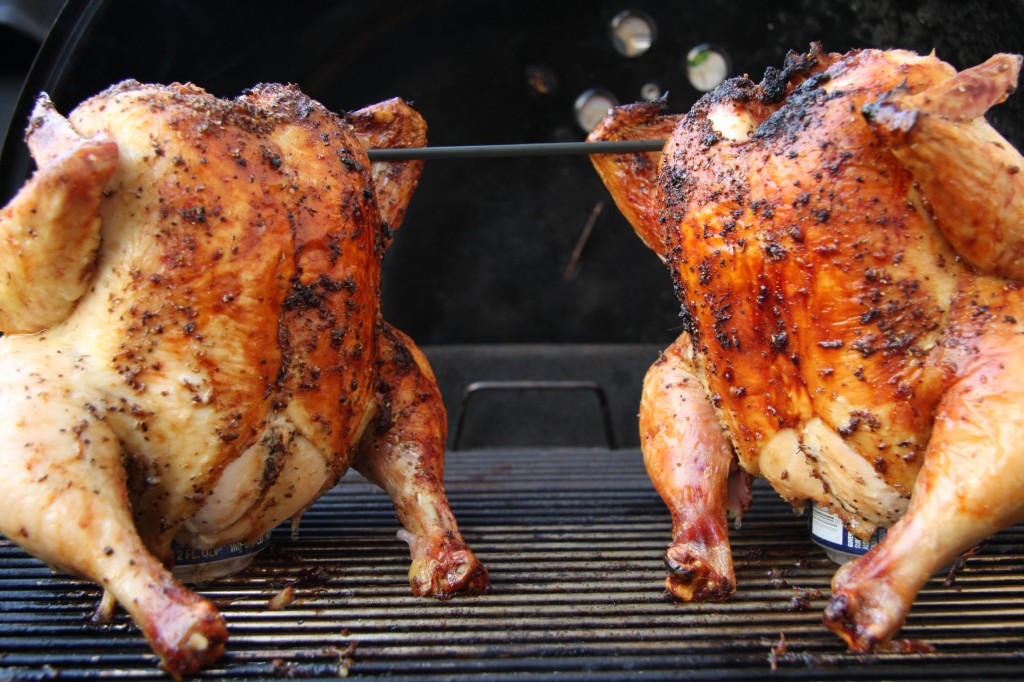
We’ve all been there. Chicken. It’s supposed to be the easiest meat to cook. Give it some flavor, throw it over the coals, and let it go till the juices run clear. But somewhere in between the coals stage and the juices running clear stage, we end up with a chicken that’s more flames and char than tender breast meat and drumsticks. You’re supposed to be a man (or woman). Master of the fire. But chickens just seem to get the best of you. Follow our tips on poultry cooking temperatures, and we’ll have you serving up grilled chickens as opposed to flaming balls of white meat.

Cooking thermometers take the guesswork out of cooking, as they measure the internal temperature of your cooked meat, poultry and seafood, thus ensuring a safe temperature has been reached, harmful bacteria have been destroyed, and your food is cooked perfectly.

Meats, poultry and seafood are properly cooked only when heated at a high enough temperature to kill harmful bacteria that cause food-borne illnesses.

It’s important to note that you need to let your meat rest after it’s reached the desired cooking temperature. Remove meat from heat source and let stand 10 to 15 minutes before carving. The amount of time required for resting varies with the size and the cut of your meat. During this resting time, the meat continues to cook (meat temperature typically rises 5 to 20 degrees even after it is removed from heat source), and the juices redistribute.

Below is a handy chart for the cooking temperatures of beef and lamb.

(chart here)

You can find out other cooking temperatures by checking out our other articles:

Photo Source: Another Pint Please…

What’s the Temp? Pork Cooking Temperatures

Cooked Shoulder

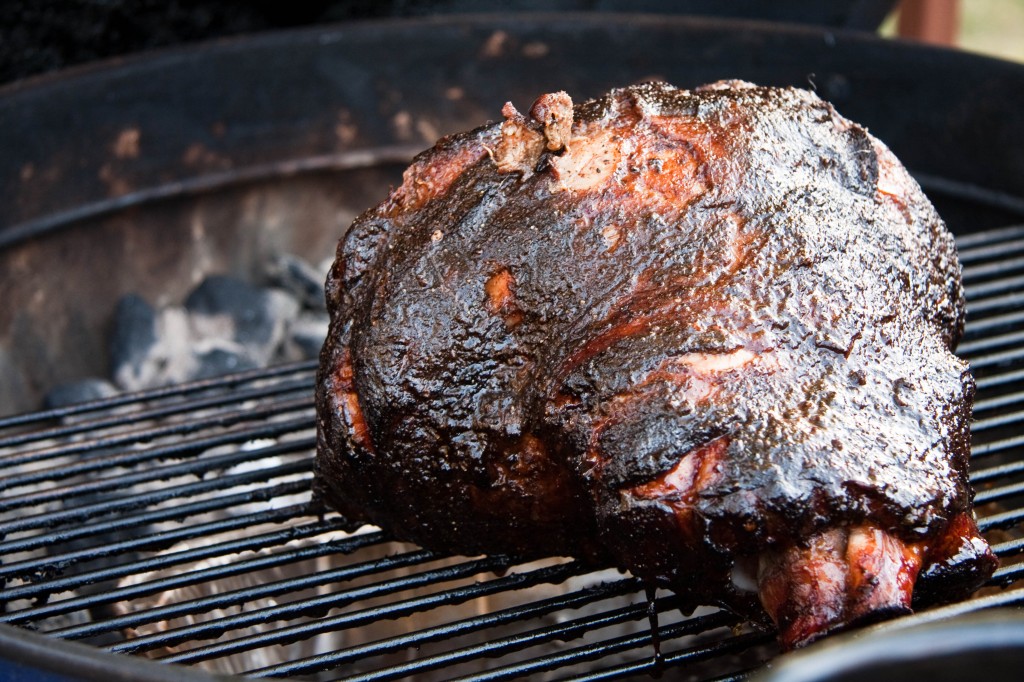
There’s something oh so satisfying about pulling apart a smoked pork shoulder that’s been smoldering all day on top of a heap of coal and wood chips. That first bite of crispy skin and oh so tender meat is like angels singing down from the meat heavens. Your smoker is good. The pork is good. And all is right with the world. Follow our tips on cooking temperatures, so you too can achieve pork nirvana.

Cooking thermometers take the guesswork out of cooking, as they measure the internal temperature of your cooked meat, poultry and seafood, thus ensuring a safe temperature has been reached, harmful bacteria have been destroyed, and your food is cooked perfectly.

Meats, poultry and seafood are properly cooked only when heated at a high enough temperature to kill harmful bacteria that cause food-borne illnesses.

It’s important to note that you need to let your meat rest after it’s reached the desired cooking temperature. Remove meat from heat source and let stand 10 to 15 minutes before carving. The amount of time required for resting varies with the size and the cut of your meat. During this resting time, the meat continues to cook (meat temperature typically rises 5 to 20 degrees even after it is removed from heat source), and the juices redistribute.

Below is a handy chart for the cooking temperatures of beef and lamb.

(chart here)

You can find out other cooking temperatures by checking out our other articles:

Photo Source: Another Pint Please…

What’s the Temp? Fish and Seafood Cooking Temperatures

Look, no stick!

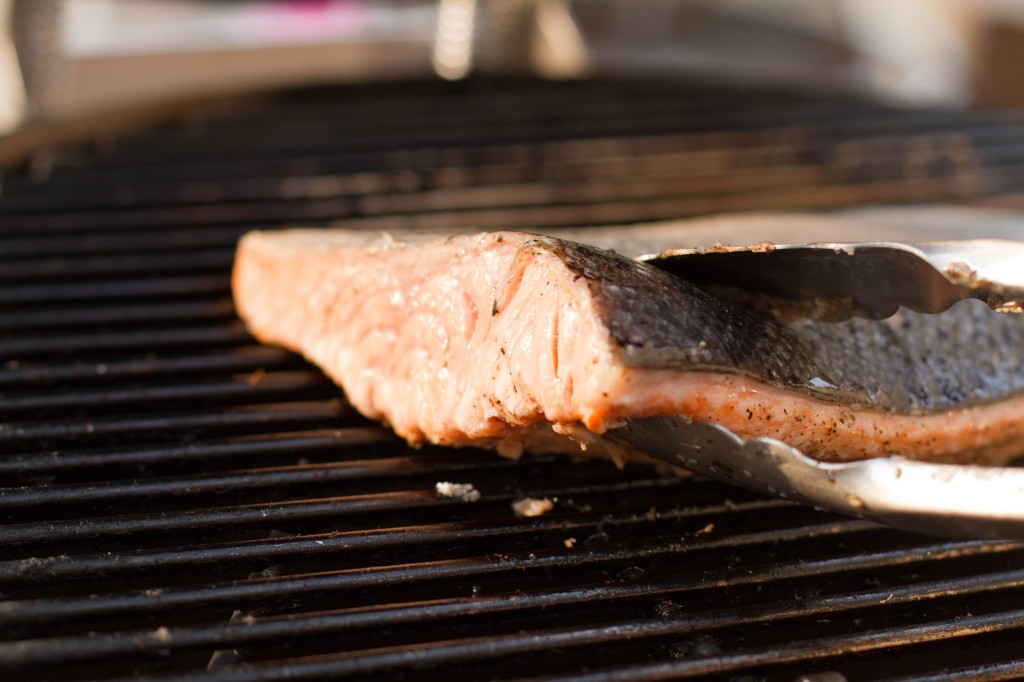
Some people might shy away from grilling fish or seafood. They worry that the fish might flake into the coals or the lobster tail will be rubber. We’ve got something to tell those people. You’re annoying. If you follow our tips on cooking temperatures for your fish and seafood, your guests will be in a blissful state of seafood decadence. Seafood decadence is a good thing. Rubber is not.

Cooking thermometers take the guesswork out of cooking, as they measure the internal temperature of your cooked meat, poultry and seafood, thus ensuring a safe temperature has been reached, harmful bacteria have been destroyed, and your food is cooked perfectly.

Meats, poultry and seafood are properly cooked only when heated at a high enough temperature to kill harmful bacteria that cause food-borne illnesses.

Below is a handy chart for the cooking temperatures of fish and seafood.

(chart here)

You can find out other cooking temperatures by checking out our other articles:

Photo Source: Another Pint Please…

What’s the Temp? Beef and Lamb Cooking Temperatures

ribeye

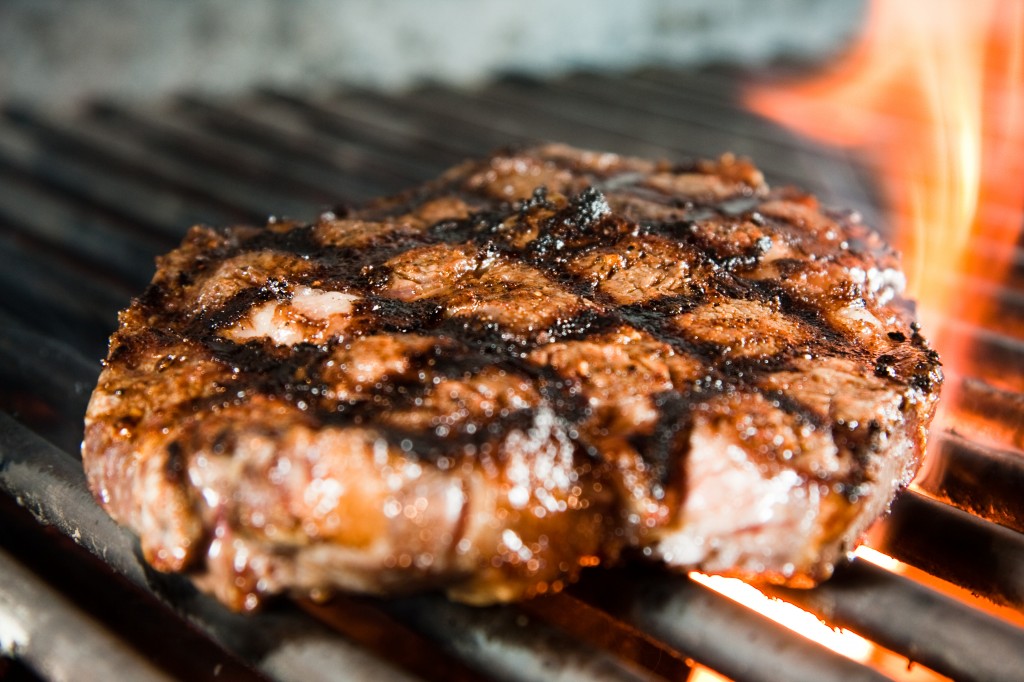
There’s nothing quite like the sound of a quality, dry-aged ribeye as it hits a searing hot grill. Our mouths are watering. Right. Now. We’ve got some temperature tips on cooking your recently purchased Meat Lodge steak to grilling perfection. And if you’ve ever wondered about what temperature you should serve that hamburger at- have no fear. Meat Lodguuue is here.

Cooking thermometers take the guesswork out of cooking, as they measure the internal temperature of your cooked meat, poultry and seafood, thus ensuring a safe temperature has been reached, harmful bacteria have been destroyed, and your food is cooked perfectly.

Meats, poultry and seafood are properly cooked only when heated at a high enough temperature to kill harmful bacteria that cause food-borne illnesses.

It’s important to note that you need to let your meat rest after it’s reached the desired cooking temperature. Remove meat from heat source and let stand 10 to 15 minutes before carving. The amount of time required for resting varies with the size and the cut of your meat. During this resting time, the meat continues to cook (meat temperature typically rises 5 to 20 degrees even after it is removed from heat source), and the juices redistribute.

Below is a handy chart for the cooking temperatures of beef and lamb.

Cut of Meat Donness Temperature Description
Roasts, Steaks, & Chops Rare 120-125°F Center is bright red and pinkish toward the exterior portion
Roasts, Steaks, & Chops Medium Rare 130-135°F Center is dark pink and slightly brown toward the exterior portion
Roasts, Steaks, & Chops Medium 140-145°F Center is light pink and outer portion is brown
Roasts, Steaks, & Chops Medium Well 150-155°F Not pink
Roasts, Steaks, & Chops Well Done 160-165°F Steak is uniformly brown throughout
Ground Meat Well Done 160-165°F No longer pink, but uniformly brown throughout

You can find out other cooking temperatures by checking out our other articles:

Photo Source: Another Pint Please…